On Assignment: Go Forward!
When I read the details for this month’s Lenspiration photo assignment, I thought “Hey, this is going to be easy; I have plenty of brothers to use as models, it’s a bright sunny day, and I know exactly where to shoot it!” Well, as usual, it didn’t exactly turn out as expected. . . .
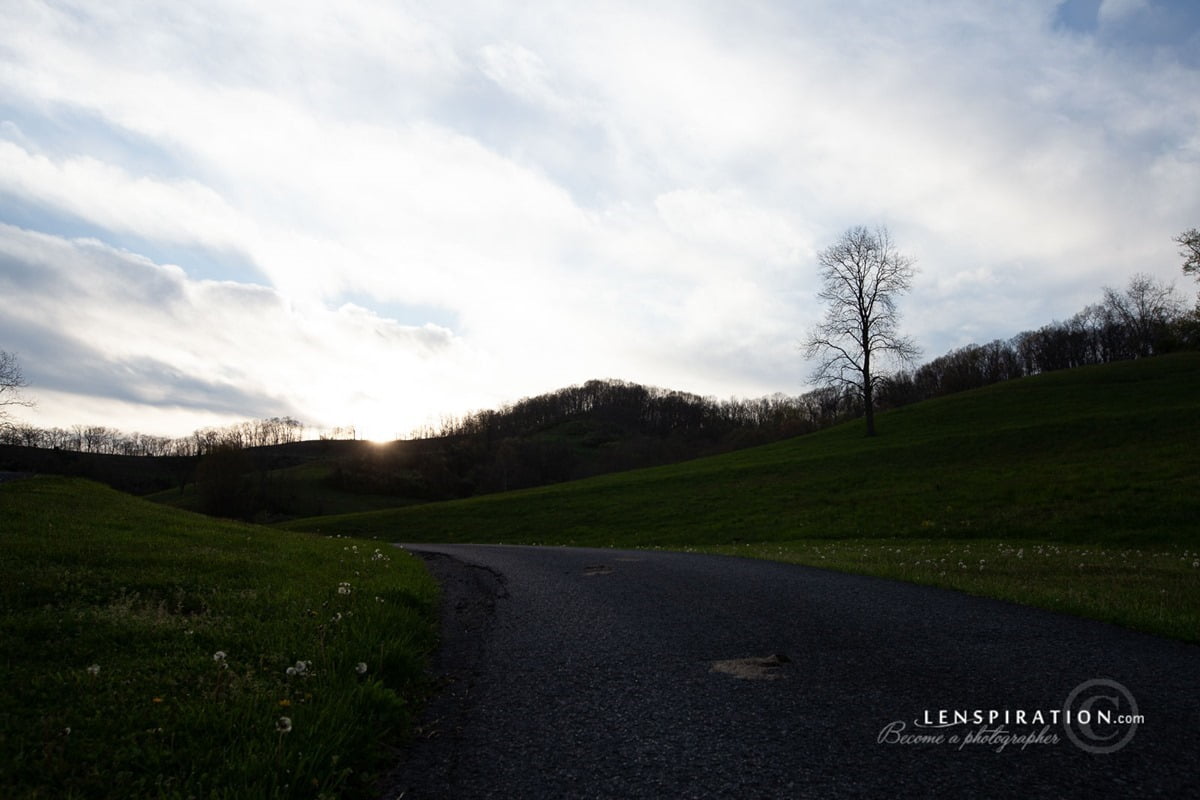
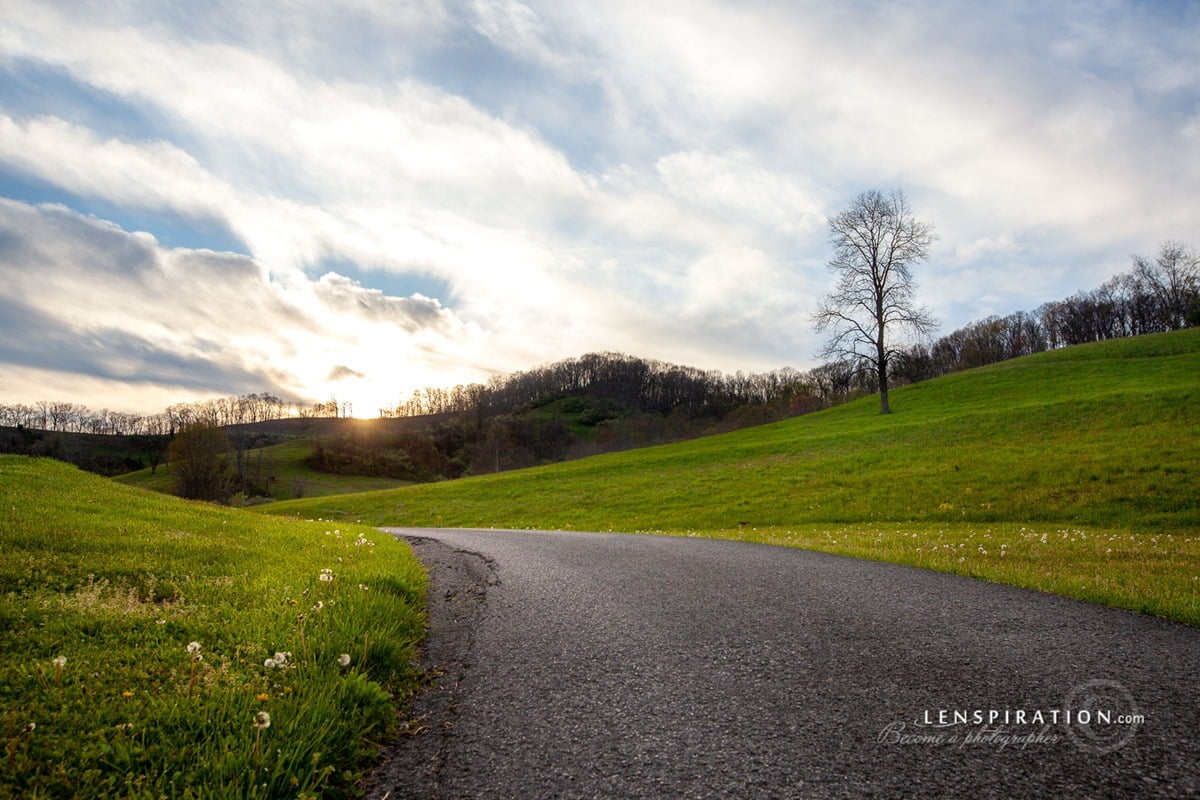
The dynamic range between the light and dark areas of the scene I was shooting was very, well . . . dynamic! In retrospect, I wish I had shot the photos about one stop brighter. On location, though, I was afraid I would wash out the sky too much. With the exposure I did have, I was already washing out portions of the sky, and I knew it would be almost impossible to pull any sort of detail out of the washed out areas. However, after bringing the photos into Lightroom and editing them to have the “bright, glowy effect” that the publisher was looking for, I realized it would have been fine to wash out much larger portions of the sky. Not completely washed out, but at least one stop brighter. The dark portions of the scene are pretty low quality right now since I had to brighten them up so much.
Showing you the before/after sequence is almost embarrassing! But maybe it will give you hope that you can do better than I. The following photos are the ones taken for the “low-angle of the road only version”, but I did the exact same process with the “person version”.
This is the raw photo straight from the camera (I’m really glad I was shooting in RAW!):
This is after basic Lightroom adjustments (probably what it would look like if I was shooting on a phone or point and shoot camera):
This is adding local adjustments in Lightroom, like brushing and gradients:
And this is the final product after taking it into Photoshop, tweaking it there and adding some artificial lens flare:
Now It’s Your Turn!
Now that you’ve seen me do it, it’s your turn to shoot this month’s photo assignment, Go Forward! Challenge yourself! You never know if you’re photo will be chosen!


No comments yet.